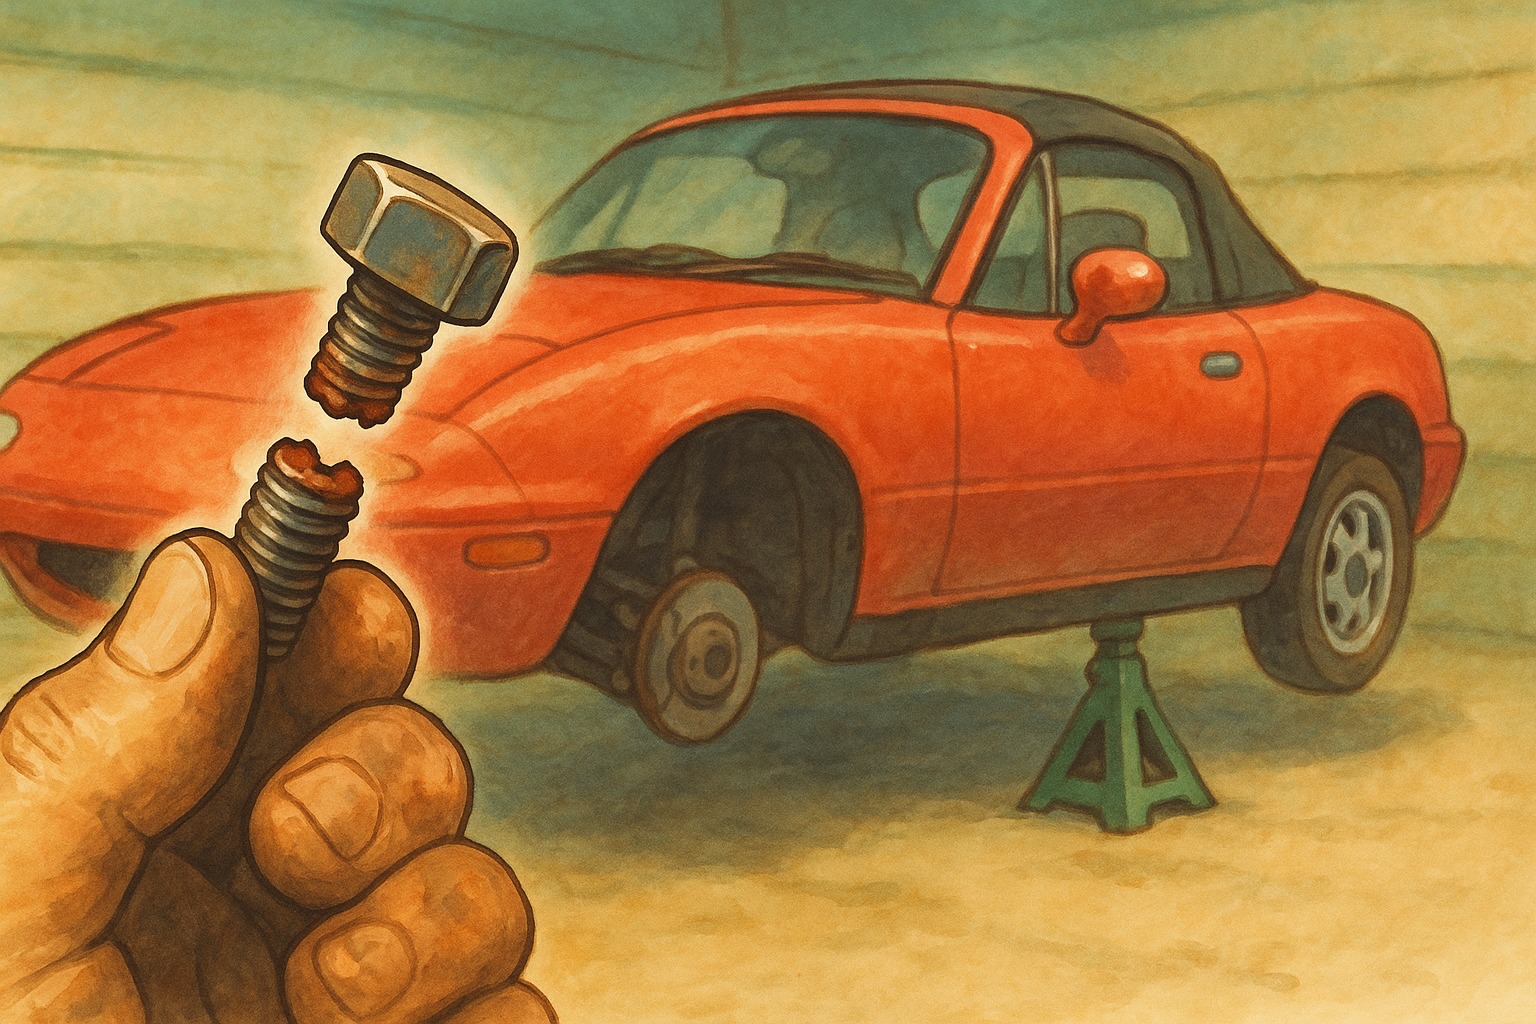
When working on your beloved MX-5/Miata, there’s that dreaded moment when you feel a sickening “slip” through the wrench, followed by a sharp “snap”… Every experienced owner knows that spine-chilling sensation. Yes, it’s the breakage of the bolt securing the undercover.
Don’t underestimate “just a single bolt.” This bolt is fixed to a special nut inside the frame, and when it breaks, recovery is notoriously difficult—a problem famous worldwide.
This article will clearly explain everything from the causes of this trouble that plagues MX-5/Miata owners around the world, to what to do when it breaks, and permanent solutions to never worry about it again.
1. Why Does This Particular Bolt Keep Breaking?
For NA/NB MX-5/Miata owners, this is something of a “rite of passage.” The truth is, it’s not your fault—it’s a structural fate.
The “Hidden Trap” Inside the Frame
The bolts securing the undercover are screwed into “captive nuts (fixed nuts)” welded inside the frame (side members). The problem is that the OEM bolts are designed slightly too long, so the tip of the bolt penetrates through the nut and protrudes into the hollow cavity inside the frame.
The inside of the frame is prone to water, mud, and road salt intrusion, and moisture easily accumulates there. As a result, the protruding bolt tip rusts intensely and expands, swelling into a “mushroom shape.” When you try to loosen the bolt in this state, the enlarged rust mass catches on the back of the nut, acting as a powerful stopper and shearing the bolt.
This bolt is an M6 x 15 Grade 8 tapping bolt, Mazda OEM part number 9078-60-616 Screw & Washer Tapping. It’s a Morishita FT screw with hexagonal pointed threads, adopted to remove paint and spatter.
2. A Global Tragedy: “Oh No, It Broke…”
This trouble isn’t unique to Japan. The same cries can be heard on forums worldwide.
- Japan: Reports of “tried to remove the cover for an oil change and it broke” are endless.
- United Kingdom: In humid Britain, it’s said that “if you try to remove it, it will definitely break,” and there are many reports of “co-rotation” where the nut weld inside the frame peels off from the force of breaking the bolt.
- United States: Especially in snowy regions, owners call this bolt a “nightmare,” and discussions about drilling it out never cease.
3. Prevention Strategies to Avoid Breaking It
If your bolt is still alive, you’re lucky. Never force it with brute strength.
The Magic Liquid: “ATF + Acetone”
Commercial penetrating lubricants (like WD-40) work well, but for severe seizure, a 1:1 mixture of ATF (Automatic Transmission Fluid) and acetone is said to be the ultimate solution. Inject this through the frame’s drain holes so it reaches directly to the back of the bolt (thread area), and let it sit overnight.
Rocking Technique (Forward-Backward Rotation)
Don’t immediately continue turning in the loosening direction. By repeatedly alternating “loosen-tighten” in small increments, you crush and gradually expel the rust from the threads. Patience is key.
4. If It Does Break… Recovery Methods
Even if it goes “snap,” it’s not over yet. Here are three recovery methods suited to different situations.
Level 1: When the Bolt Head Remains
If any part of the bolt shaft is protruding, there’s hope.
- Nut Welding Method: Place a larger nut over the remaining bolt, weld the inside, and turn it. This is the most reliable method. The thermal shock also helps loosen the rust—killing two birds with one stone.
- Vise Pliers: Grip firmly with screw extractors or vise pliers and turn.
Level 2: Snapped Flush (Embedded)
This is the most common pattern. You’ll need to cut the bolt with a drill. In this condition, extractors will break.
- Center Punch: Make a dimple in the center. If this is off-center, you’ll damage the frame’s threads.
- Reverse Rotation Drill: Instead of a regular drill, use a “reverse rotation (left-hand)” drill bit. Since the cutting force works in the “loosening direction,” with luck the bolt may spin out while you’re drilling.
- Gradual Expansion: Don’t use a thick drill right away. Progress in stages: 2.0mm → 3.5mm → 4.8mm. Since the pilot hole diameter for M6 is about 5.0mm, stopping at 4.8mm leaves a thin skin of the bolt remnant right at the edge of the threads.
- Pick-up: Use a sharp pick tool to peel away the remaining thread coils inward.
- Tap Cleaning: Finally, run an M6×1.0 tap through to clean the threads.
Level 3: Worst Case “Nut Detachment”
When the rust is so severe that the nut weld inside the frame peels off the moment you apply force, causing it to spin freely. In this case, it’s impossible to remove the bolt from outside. The final solution here is a “rivnut (rivet nut/blind nut)”. Enlarge the original hole with a drill (about 9mm), and crimp a new female thread (rivet nut) in place. This restores threads as strong as the original. Even without specialized tools, there are methods to crimp using bolts and nuts.
Note: Some people use zip ties (cable ties) as a temporary fix, but these can break from vibration or cause the cover to flutter, so keep this as a last resort only.
Summary
Breaking the NA/NB MX-5/Miata undercover bolt is an unavoidable path. However, with the right knowledge and preparation, there’s nothing to fear. Even if it breaks, consider it a good opportunity to deepen your bond with your beloved car (and expand your tool collection).